
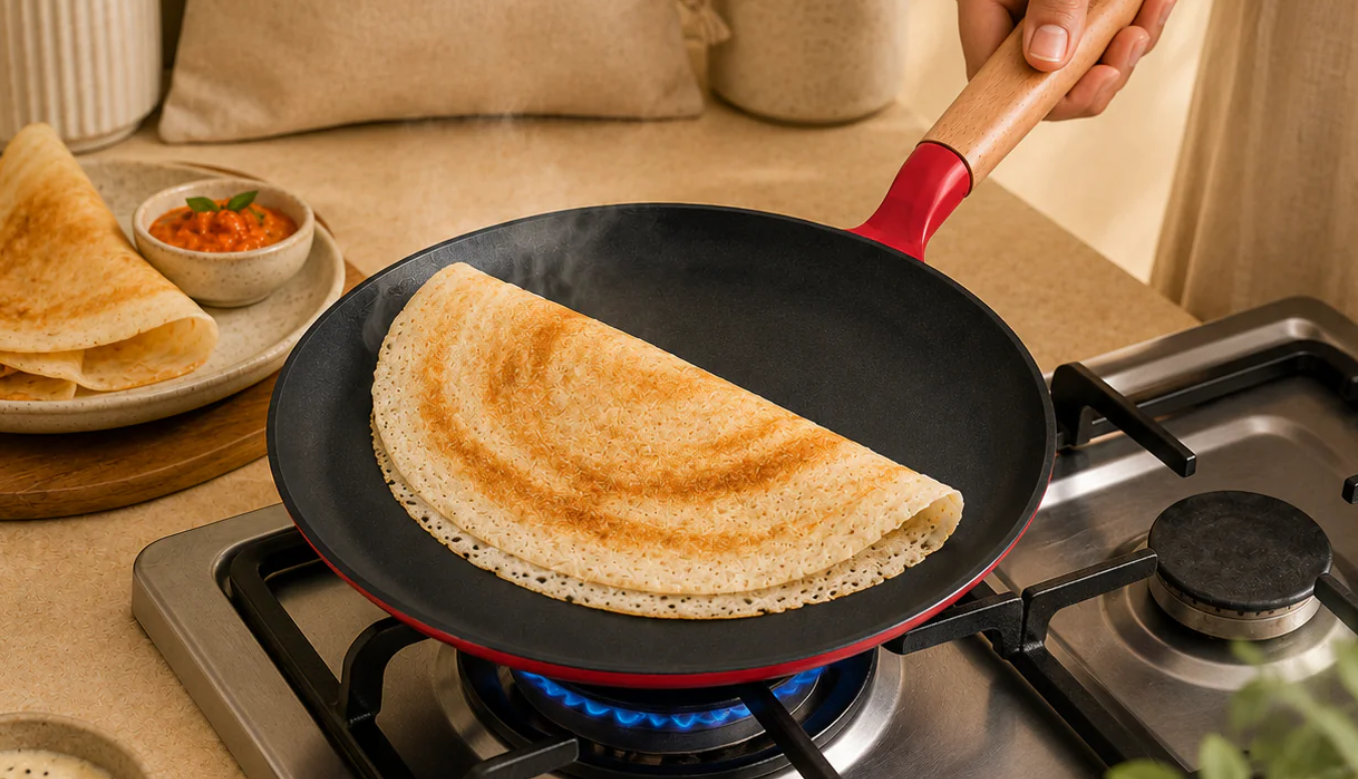
A perfectly cooked dosa is a joy to eat—crispy on the outside, soft on the inside, and packed with authentic flavor. While the batter plays a major role, the cookware you use can make an equally significant difference. A quality dosa pan helps you achieve the even heat distribution and smooth cooking surface needed for restaurant-style results at home. Whether you’re making classic masala dosa, rava dosa, or paper dosa, learning the right techniques can transform your cooking experience.
Many home cooks focus only on recipes and overlook the importance of using the right pan. They also spend time comparing the dosa tawa price without understanding which features truly matter. In this guide, you’ll discover how to use a dosa pan like a professional chef, along with expert tips to improve your skills and choose the right cookware.
What Is a Dosa Pan?
A dosa pan is a flat or slightly concave cooking surface specifically designed for making dosas, uttapams, pancakes, and similar dishes. Unlike regular frying pans, it provides a larger cooking area with even heat distribution, allowing the batter to spread thinly and cook uniformly.
Dosa pans are commonly available in several materials:
- Cast iron
- Non-stick aluminum
- Stainless steel
- Hard anodized aluminum
Each material has unique benefits, but the cooking techniques remain mostly the same.
Why Professional Chefs Prefer a Dedicated Dosa Pan
Professional chefs understand that consistency is everything. A dedicated dosa pan offers several advantages:
- Uniform heat distribution
- Better control over crispiness
- Easy spreading of batter
- Reduced sticking
- Faster cooking
Using the right pan helps create dosas with beautiful golden color and crispy edges while preventing uneven cooking.
Season Your Dosa Pan Properly
One of the biggest secrets behind restaurant-quality dosas is proper seasoning.
For cast iron pans:
- Wash and dry the pan thoroughly.
- Apply a thin layer of cooking oil.
- Heat the pan until it begins to smoke lightly.
- Let it cool naturally.
- Repeat several times before first use.
Seasoning creates a natural non-stick surface and improves cooking performance over time.
If you’re using a non-stick dosa pan, seasoning isn’t usually necessary, but light oiling before the first few uses can improve results.
Heat the Pan Correctly
Temperature control is one of the most important skills professional chefs master.
If the pan is:
- Too hot, the batter won’t spread properly.
- Too cold, the dosa becomes thick and soggy.
A simple test is to sprinkle a few drops of water onto the pan.
- If they dance and evaporate within seconds, the temperature is perfect.
- If they disappear instantly with loud sizzling, the pan is too hot.
- If they remain on the surface, the pan needs more heating.
Maintaining medium heat usually delivers the best results.
Spread the Batter Like a Pro
Pour a ladle of batter into the center of the heated dosa pan.
Using the back of the ladle:
- Move in circular motions.
- Spread from the center outward.
- Keep even pressure.
- Avoid lifting the ladle while spreading.
Thin and even layers create crisp, restaurant-style dosas.
Professional chefs work quickly because the batter starts cooking immediately after touching the hot surface.
Use Oil Sparingly
Many beginners use excessive oil.
Instead, add just a few drops:
- Around the edges
- Lightly across the surface
Too much oil can make spreading difficult and reduce crispiness.
Traditional restaurants often use ghee for richer flavor, while vegetable oil provides a lighter alternative.
Know When to Flip
Not every dosa needs flipping.
For thin paper dosas:
- Cook only one side.
- Wait until the edges lift naturally.
For thicker dosas:
- Flip gently.
- Cook the second side for 20–30 seconds.
Avoid flipping too early, as this may tear the dosa.
Clean the Pan Between Batches
Restaurants clean the dosa pan after every dosa for a reason.
Use:
- A damp cloth
- Half an onion dipped in oil
- A folded kitchen towel
This removes leftover batter and keeps the surface smooth for the next dosa.
Never pour cold water directly onto a hot cast iron pan because it may warp or crack.
Common Mistakes to Avoid
Even experienced home cooks sometimes make errors.
Overheating the Pan
High temperatures prevent smooth spreading and cause uneven cooking.
Thick Batter
The batter should flow easily without being watery.
Excess Oil
Too much oil reduces crispiness and affects texture.
Poor Seasoning
An unseasoned cast iron dosa pan often causes sticking.
Rushing the Cooking Process
Patience allows the dosa to develop its signature golden color and crisp edges.
Choosing the Right Dosa Pan
If you’re shopping for new cookware, compare features rather than selecting solely based on dosa tawa price.
Consider:
- Material quality
- Weight
- Handle comfort
- Heat retention
- Surface finish
- Compatibility with induction cooktops
- Warranty
A slightly more expensive pan often lasts many years, making it a better long-term investment.
Understanding Dosa Tawa Price
The dosa tawa price varies depending on the material, brand, and size.
Generally:
- Basic non-stick models are the most affordable.
- Hard anodized options offer excellent durability.
- Premium cast iron pans cost more but improve with age.
- High-end stainless steel models provide outstanding longevity.
Instead of focusing only on the dosa tawa price, consider durability, cooking performance, and maintenance requirements.
Maintenance Tips
Proper care extends the life of your cookware.
For cast iron:
- Wash without harsh detergents whenever possible.
- Dry immediately.
- Apply a thin layer of oil after cleaning.
For non-stick pans:
- Use wooden or silicone utensils.
- Avoid metal spatulas.
- Wash gently with soft sponges.
- Never overheat an empty pan.
Taking good care of your dosa pan ensures consistently better cooking results.
Professional Chef Tips
Professional chefs rely on a few simple tricks:
- Stir the batter before every dosa.
- Keep the pan at consistent medium heat.
- Use fresh batter whenever possible.
- Let the pan recover its temperature between batches.
- Clean the surface regularly.
- Use minimal oil for extra crispiness.
- Practice circular spreading until it becomes smooth and effortless.
These habits make a noticeable difference in both appearance and taste.
Final Thoughts
Mastering the art of making dosa is easier than many people think. The right dosa pan, combined with proper seasoning, correct heat control, and careful batter spreading, allows anyone to prepare restaurant-quality dosas at home. While comparing dosa tawa price is a sensible part of shopping, remember that quality, durability, and cooking performance are far more important than choosing the cheapest option.
With regular practice and the right cookware, you’ll soon be creating golden, crispy dosas that rival those served by professional chefs. Whether you’re cooking for your family or entertaining guests, investing in a dependable dosa pan and using it correctly will elevate every meal.